Guide
How to make a real estate reel from listing photos
Updated July 2026
To make a real estate reel from listing photos: pick 6–10 of your strongest shots, order them the way a showing walks, add real camera motion rather than slide transitions, put a hook on the first frame, and export vertical 9:16 with a caption that carries the facts and one call to action. You can assemble it by hand in an editor or let a tool do it from an upload. The steps below cover each decision in detail.
You don’t need a videographer or a filming day to post a listing reel. You already have the raw material: the photos. Here’s how to turn them into something worth posting — whether you assemble it by hand or let a tool do it.
1. Pick 6–10 of your strongest photos
More isn’t better. Choose the shots that actually sell the home: the best exterior, the brightest living space, the kitchen, the primary suite, one standout feature (a view, a pool, a fireplace), and a closing exterior or twilight shot. Skip anything blurry, cluttered, or redundant — a tight six beats a loose fifteen.
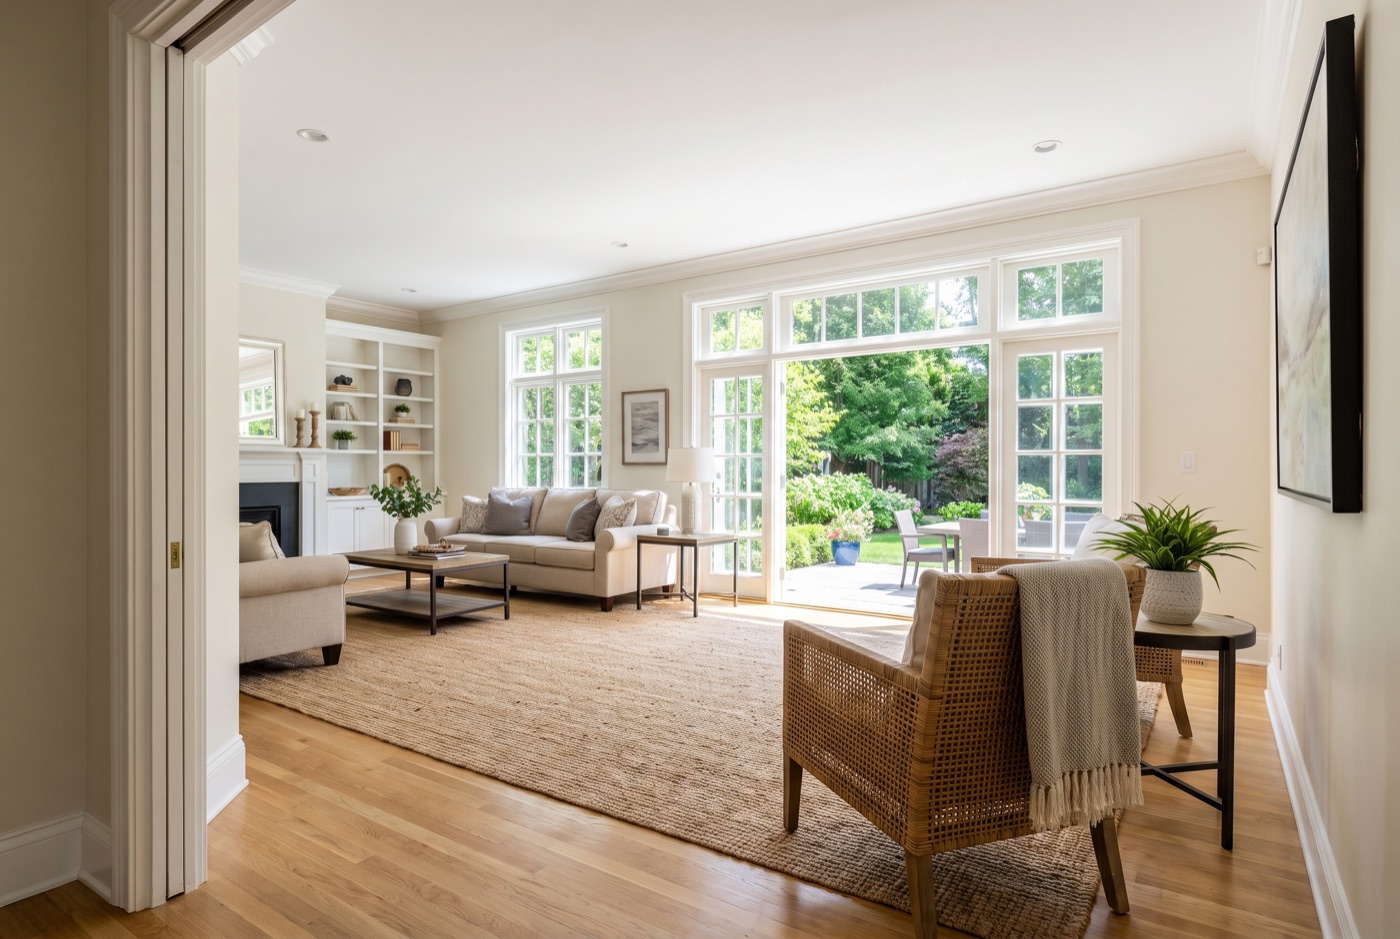
One extra filter that matters once motion is involved: pick photos with depth. A frame with a foreground, a middle and something visible beyond gives a camera move somewhere to travel. A flat, square-on shot has nowhere to go, and any motion applied to it just wobbles.

2. Put them in a story order
A reel should walk the buyer through the home the way a showing would:
- Open on the hero exterior or the single most impressive room.
- Flow through living → kitchen → primary bedroom → bathroom.
- Feature the one thing that makes this home different.
- Close on curb appeal or a twilight shot, then your call to action.
3. Add motion — not just transitions
This is where most agent reels lose. Sliding between static photos with a fade is a slideshow, and slideshows read as dated — motion video consistently reaches further on social feeds. If you can, add real camera motion (a slow push into a room, a gentle orbit) rather than a hard cut. The goal is for the feed to register “video,” not “photos with music.”
Keep it honest: the motion should showcase the property, not change it. Swapping a grey sky for blue or turning day into dusk changes the property as marketed and can create MLS-accuracy problems — and if you use an AI tool for the motion, watch the finished reel through and check it against the real property before you post, because generative video can take liberties.
4. Win the first 1.5 seconds
People decide whether to keep watching almost instantly. Lead with your best frame and put a short hook on screen — a price-to-value line, a standout feature, or a question. (Our guide to reel hooks has formulas and examples.) Don’t open on a logo or a slow title card.
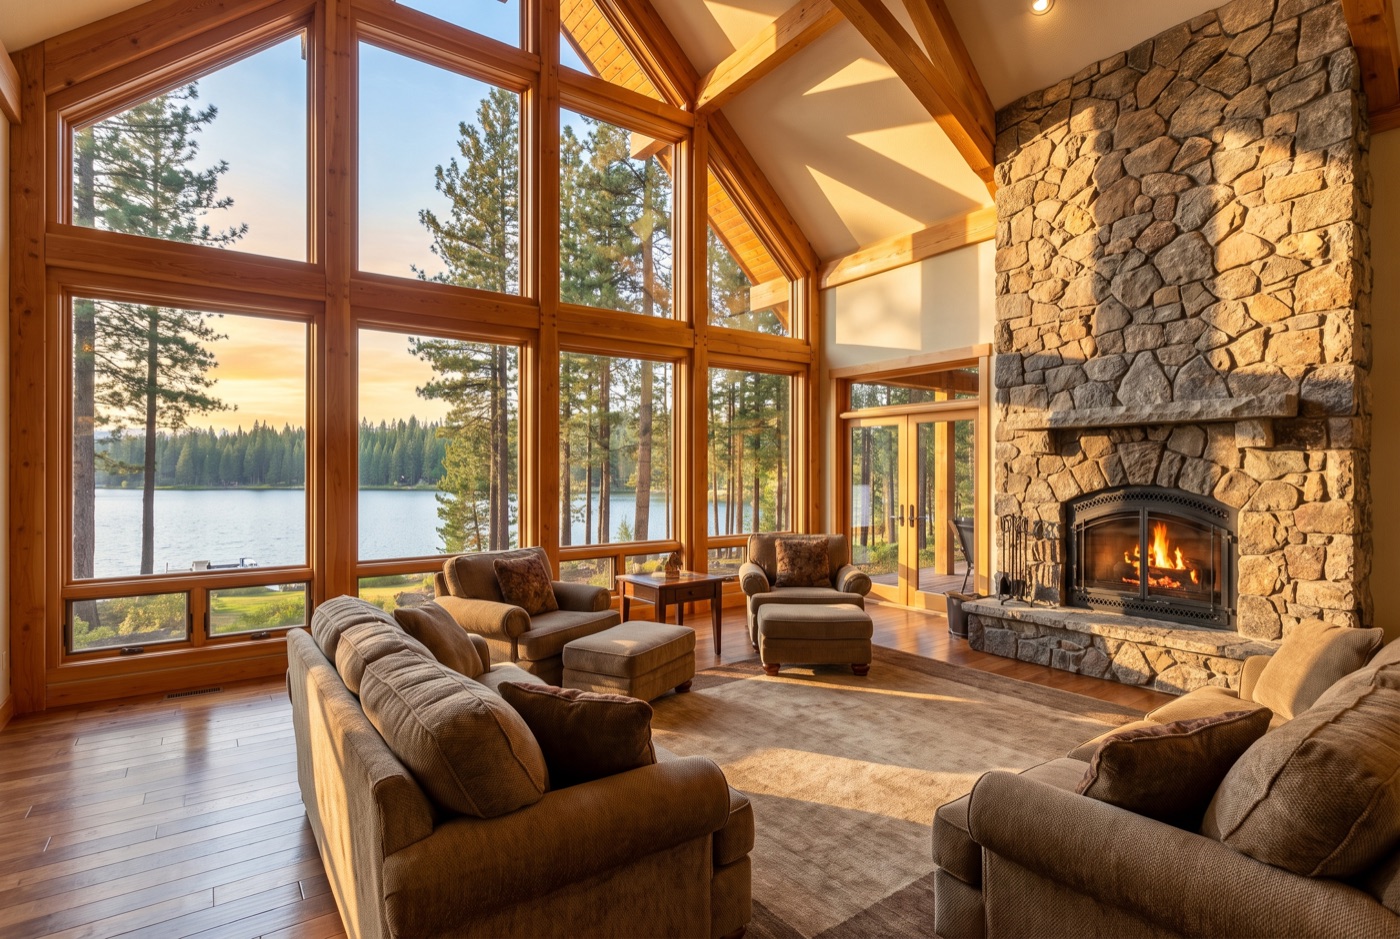
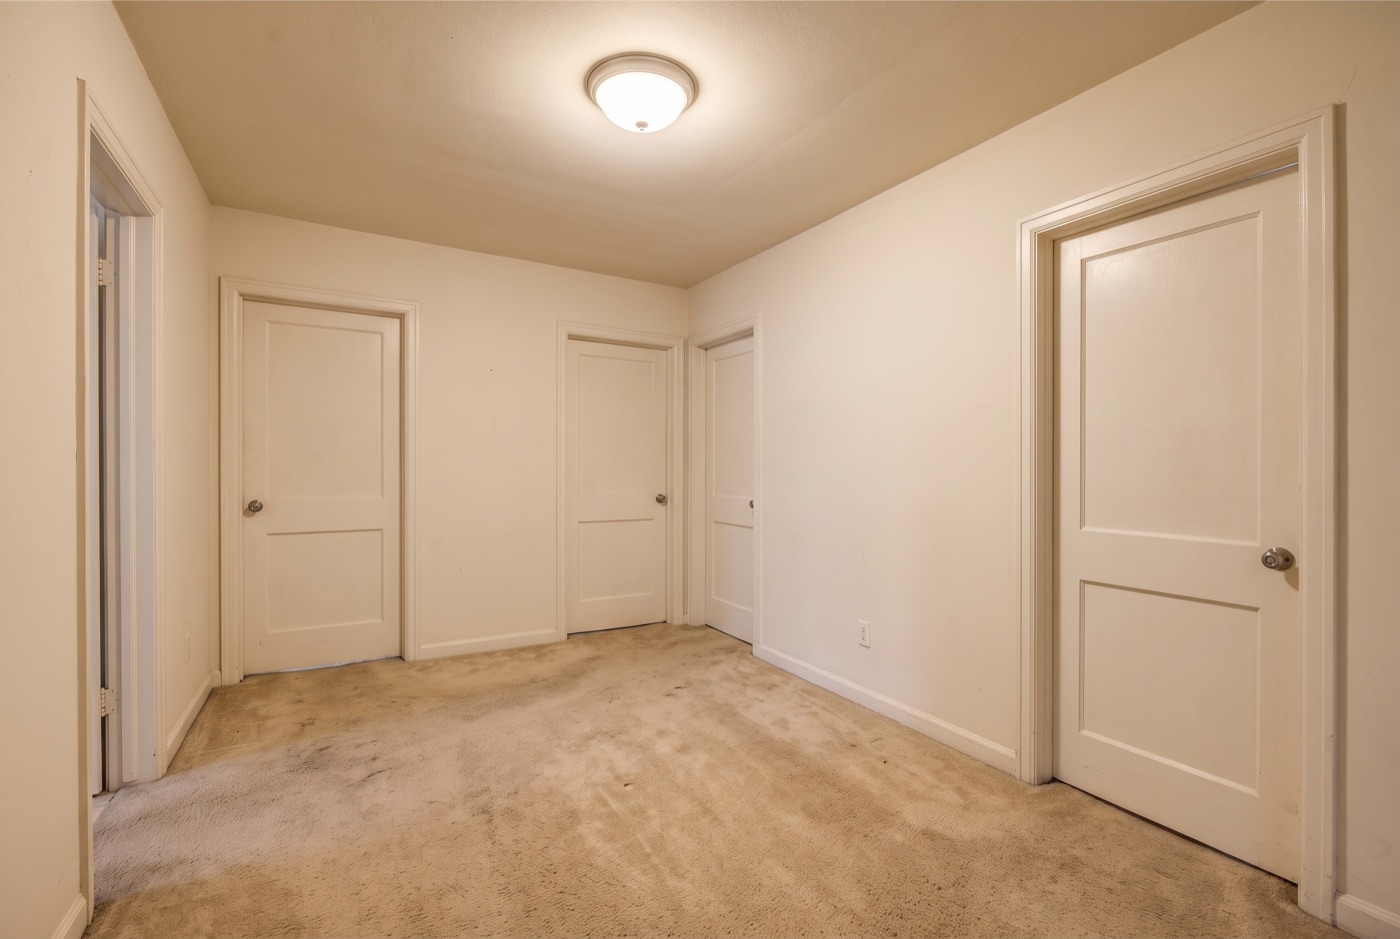
Every listing has both kinds of frame in its photo set. The only question is which one the feed meets first — and a hallway is where the watch ends.
5. Caption it — and keep it compliant
Write a caption that adds the details the video can’t: beds, baths, neighborhood, price guidance, and a clear next step (“DM me for a private tour”). Keep the language about the property, not the buyer — phrases like “perfect for families” or “safe, quiet area” can quietly steer and run afoul of fair-housing rules. See our fair-housing guide. And if you plan to narrate the reel, our free listing reel script generator drafts a ready-to-record voiceover — hook, walk-through beats and close — from the listing details.
6. Export vertical and post at the right time
Reels live in 9:16 vertical. Add trending, licensed audio; keep it to 15–30 seconds; and post when your audience is on — typically weekday mornings and evenings for real estate. End on a single clear call to action.
Post one listing more than once
A home is on the market for weeks — don’t let it be one reel. Lead with the kitchen this time, the back yard next time; try a price-to-value hook, then a “guess the price” one. Different openings and orders from the same photos keep a single listing in the feed without feeling repetitive, and give you something to post on the quiet days between new listings.
The shortcut
Every step above — selecting and ordering photos, adding real motion, writing the hook and a compliant caption, exporting vertical — is exactly what Kadapt does from an upload. You spend about two minutes on the choices; Kadapt handles the rest and pings you when the reel is ready, usually within about ten minutes. And because you can tweak the plan and regenerate in minutes, one listing can become a month of different reels — a new version any day you want — without re-editing anything — all of it built from the photos you supplied.
Common questions
How many photos do I need to make a listing reel?
Six to ten strong ones: the best exterior, the brightest living space, the kitchen, the primary suite, one standout feature and a closing shot. A tight six beats a loose fifteen — and photos with depth animate far better than flat, square-on shots.
Can I make a real estate reel without video footage?
Yes — your listing photos are enough. Order them the way a showing walks, add camera motion rather than slide transitions, put a hook on the first frame, and export vertical 9:16. You can assemble it by hand or let a tool do it from an upload.
How long should a real estate reel be?
Keep it to 15–30 seconds, vertical 9:16, with licensed audio and a single clear call to action at the end. Short and dense beats long and thorough on a feed.
Is it OK to use AI to animate my listing photos?
Yes, if the motion showcases the property rather than changes it — sky swaps and day-to-dusk edits change the property as marketed and can create MLS-accuracy problems. Whatever tool you use, watch the finished reel through and check it against the real property before you post.
Skip the timeline — let Kadapt build it
Make my first reel →Free to the plan, no card · card only when you render · 14-day trial, 3 reels